A few weeks ago I
discovered the much-hyped salted caramels at Huckleberry in Santa Monica. Buttery. Salty. Silky smooth. I couldn't stop thinking about it after having just one bite, so naturally I decided to make my own at home using this
recipe from Epicurious. Dare I claim that my home-made version turned out tastier than Huckleberry's? Well, let's just say that they were addictive to the point where they became a part of my morning breakfast ritual.
And how does one top a salted caramel? Why, with a salted chocolate caramel, of course. This recipe also comes from Epicurious and can be found
here. Here we go:
First, prepare an 8"x8" pan with parchment paper; it doesn't have to be perfect but make sure the sides are covered at least 1" high:
Cut the butter into small pieces, and measure 10.5 ounces of good bittersweet chocolate. I used Ghiradelli 60% cacao baking chips which are perfectly fine for this recipe. A better quality chocolate like Valrhona would make this more special, but of course Valrhona is a far pricier product.
Heat 2 cups of heavy cream until tiny bubbles appear along the edge, then add the chocolate. Lower the heat and let the chocolate sit for a minute, then stir until completely smooth. Resit the urge to take shots of this velvety chocolate mixture.
Heat the sugar, water, and corn syrup in a separate pot, swirling every few minutes, until the caramel achieves a deep golden copper-like hue.
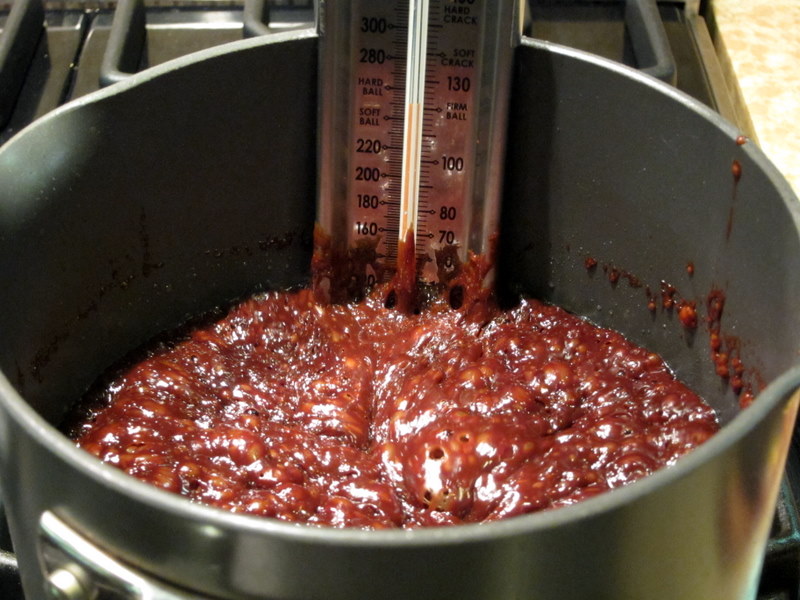
This takes about 10-15 minutes to get to the right color as seen on the right. Actually a little darker would be nice to really get that deep, intense caramel flavor. When you're happy with the color, carefully pour in the melted chocolate and heat the mixture until a thermometer reads 255°F.
.
Speaking of thermometers, I highly recommend using a deep-fry thermometer for this recipe. Its large display makes for easy reading from a safe distance and the pot clip provides hands-free operation.
.
When the mixture reaches 255°F, add the butter and stir until completely melted, then pour into the prepared pan. Wait ten minutes, then sprinkle the salt over the finished caramel. Make sure you use a good flaky salt to give the caramels a nice crunch and subtle salty taste.
Allow to cool for 2 hours, then pull from the pan using the parchment paper and place onto a cutting board. Flip the slab so the salted surface is facing up.
Cut the caramel into 64 pieces; I measured 1" segments on all sides, then lightly scored the caramel with a knife tip to create guidelines. Cutting this slab is optional. Feel free to grab with both hands and just go old-school on this.
Wrap each caramel in 4" square pieces of wax paper, then twist the ends to seal. Repeat 63 times and you'll end up with a pile of goodies like this:
These make great edible gifts for your friends, family, co-workers, and people willing to take care of your dog while you leave the country for weeks at a time, etc. And how is the taste? A rich, intense chocolate presence hits you followed by a salty finish while the buttery sweet undertones remind you all along that these are caramels. And although firmer than regular caramels (perhaps due to the chocolate addition), the chewiness just slows you down, forcing you to appreciate the salty, buttery taste. Think of these as grown-up Tootsie Rolls.


